OBD-II code P0113 indicates a “high signal level in the intake air temperature (IAT) sensor circuit.” When the control module detects a voltage above 4.91 V for 0.5 seconds or longer, it interprets this as extremely cold air—around -40°F (-40°C)—even though the actual temperature is different.
In most cases, the cause is not a faulty sensor but a wiring break, poor contact, or connector oxidation. These electrical issues create the appearance of an open circuit.
“In my experience, 8 out of 10 P0113 cases were resolved at the connector or wiring harness—where the wire was stretched during filter maintenance or moisture entered after engine washing. The IAT sensor itself fails less often, and replacing it without checking power, ground, and harness integrity is a shot in the dark that rarely hits the mark.” – Daniel Brooks, DecodeAuto
Page contents
Brief summary of P0113 (SGE response in 10 seconds)
| Parameter | Value |
|---|---|
| Description | High signal level in the intake air temperature (IAT) sensor circuit |
| Fault type | Electrical (open circuit/poor contact/rarely PCM or ECM) |
| Symptoms | Check Engine light, unstable idle, loss of power, high fuel consumption, hard starting, black smoke |
| Main causes | Wiring or connector open circuit/oxidation, faulty IAT sensor, rarely PCM or ECM |
| Is it drivable? | Drive cautiously to a repair shop; prolonged driving is not recommended (risk of rich mixture/catalytic converter damage) |
| Quick checks | OBD-II scanner (IAT ≈ -40°F (-40°C)), visual inspection of connector/harness, 5 V reference and ground, IAT resistance |
| Tools | Scan tool, multimeter, contact cleaner, contact brush |
| Typical fix | Cleaning/repairing connector contacts or replacing the IAT sensor; clearing codes, verification drive |
| Time/cost | 0.3–0.8 hours; sensor and labor costs vary widely by model and region. |
Error P0113: what the code means, interpretation, and initial steps
P0113 is a diagnostic trouble code (DTC) under the OBD-II protocol that records abnormally high voltage in the intake air temperature sensor circuit. When the powertrain control module (PCM) or engine control module (ECM) sees a signal above the threshold—usually 4.91 V for 0.5 seconds—it logs the code and triggers the Check Engine light.
“According to YouMechanic (2024), the code is set when IAT voltage exceeds 4.91 V for at least 0.5 seconds—the control module interprets this as a thermistor circuit open.”
From the PCM/ECM logic perspective, high voltage is equivalent to the sensor being absent from the circuit, as if the air were so cold that the thermistor’s resistance approaches infinity.
Why is this a problem? The IAT sensor transmits the intake air temperature, which the PCM/ECM uses to calculate air density and adjust fuel delivery. If the PCM/ECM “thinks” the air is -40°F (-40°C), it enriches the mixture in preparation for a cold start, even if the engine is warm.
The result is excessive fuel consumption, black smoke, unstable idle, and power loss.
Quick jumper test (A/B diagnostics in 2 minutes):
- Disconnect the IAT sensor connector.
- Maximum test: Place a jumper between the signal pin and ground in the harness connector. Turn on the ignition. Check Live Data—the IAT should show maximum (around 280°F (130°C)). This confirms the wiring to the PCM/ECM is intact.
- Minimum test: Remove the jumper (open circuit). IAT should show -40°F (-40°C). If readings do not change or remain at -40°F (-40°C) in both tests, the problem lies in the wiring or PCM/ECM.
“Place a jumper between the IAT signal line and harness ground—the IAT temperature reading on the diagnostic tool should jump to maximum (e.g., 280°F+). If so, wiring is fine; the issue is with the sensor or connection.” – Source: STO Kovsh, P0113 Technical Description (2020).
Initial steps for P0113:
- Read codes with a scan tool and save the freeze-frame (conditions when the code was set).
- Check Live Data: if IAT shows -40°F (-40°C) at ambient temperature under the hood, this confirms an open circuit.
- Inspect the IAT sensor connector for moisture, oxidation, or loose contacts.
- Check the wiring harness for breaks, abrasion, and proper routing (especially after air filter replacement).
- Ensure the IAT connector has a reference voltage of about 5 V (ignition ON, engine OFF) and a reliable ground.
“P0113 shows a high input because an open in the thermistor circuit pulls the signal line to the 5 V reference through a pull-up resistor in the PCM/ECM. It’s as if the sensor disappeared—the PCM/ECM sees supply voltage instead of the normal 0.3–4.7 V range.” – Daniel Brooks, DecodeAuto
Understanding this logic helps avoid confusing P0113 with a physical engine fault.
The code signals an electrical issue, not that the intake air is actually frozen.
This information is general and does not replace professional consultation.
Main symptoms and signs of P0113 fault
Symptoms of P0113 are directly related to how the PCM/ECM responds to a false signal of extremely low air temperature. The control module adjusts the fuel mixture, ignition timing, and enrichment mode assuming the air is cold and dense.
When this assumption is incorrect, engine behavior changes.
Check Engine light on. This is the first and most obvious sign. The indicator lights after the second drive cycle with the active code (depending on manufacturer).
Increased fuel consumption. The PCM/ECM enriches the mixture to compensate for “cold” air. In reality, the air is warm, and excess fuel does not burn completely.
“A rich mixture caused by P0113 can increase fuel consumption depending on driving conditions—the false temperature signal causes the PCM/ECM to supply a cold-start mixture.” – Source: SoloPCMS Blog (2024).
Hard starting, especially when cold. Paradoxically, enrichment during cold start can worsen the problem: spark plugs can foul, spark weakens, and the engine may start on the second or third attempt.
Unstable engine operation, fluctuating idle speed. The mixture is too rich for a warmed-up engine, and the PCM/ECM tries to compensate with short-term fuel trims (STFT), causing RPM fluctuations.
Power loss, sluggish acceleration. The rich mixture reduces combustion efficiency. The engine “chokes” on fuel, especially under load.
Black smoke from the exhaust, fuel smell. Unburned fuel exits as soot and hydrocarbons.
“Black soot on spark plugs with a fuel smell occurs due to incomplete combustion of the rich mixture—incorrect air/fuel ratio based on false IAT data.” – Source: KBB OBD-II Code P0113 (2023).
It is important to understand that symptoms may not all appear simultaneously and vary in intensity depending on how much the PCM/ECM trusts other sensors (ECT, MAF, MAP) and whether it can enter failsafe mode, ignoring the IAT.
All possible causes of code P0113
P0113 occurs when the PCM/ECM detects voltage in the IAT circuit above the allowable threshold. This can happen for several reasons, and proper diagnosis requires checking each in order of likelihood—from common to rare.
1. Wiring break or damage (wire, splice, fragile area near connector).
The signal wire may break due to repeated bending, tension during maintenance (filter replacement, hose installation), or corrosion inside insulation. An open circuit leaves the circuit open, and the pull-up resistor in the PCM/ECM pulls the line to 5 V.
“P0113 may indicate an open in the IAT ground or signal circuit, or a short to voltage.” – Source: STO Kovsh, P0113 Technical Description (2020).
2. Connector oxidation or damage, moisture/oil contamination.
IAT connectors are located under the hood, exposed to moisture, oil vapors, and temperature fluctuations. Oxidation increases contact resistance, which can mimic an open circuit.
3. Loose connections/repairs after filter or MAF replacement.
After servicing the air intake (filter replacement, MAF cleaning), the IAT sensor may not be fully seated in the connector, or the connector latch may be damaged. Contact is lost during engine vibration.
4. Faulty IAT sensor (NTC thermistor failure).
The NTC thermistor can degrade due to overheating, vibration, or simply wear out. If the resistive element fails, resistance approaches infinity, and the PCM/ECM sees high voltage.
“IAT sensor failure is a common cause of P0113, due to heat and vibration wear in the engine bay.” – Source: A-Premium.com (2023–2025).
5. Short to power (5 V reference applied to input).
Less common is a short of the signal wire to the 5 V reference. This can occur due to worn insulation where the signal wire contacts the power line.
6. Amateur splices, non-sealed heat shrink in the harness.
If wiring was previously repaired crudely (twisting without soldering, non-sealed insulation), moisture can accumulate at the repair site, causing corrosion and open circuits.
7. PCM/ECM fault (rare), corrosion of traces/pins.
In rare cases, the problem may be inside the PCM/ECM: corrosion on the circuit board, burned pull-up resistor, or ADC input channel defect. This is checked last after all external causes are excluded.
Diagnosis starts with simple steps: inspecting the connector and wiring. If everything looks fine visually, proceed to voltage and resistance measurements. Only after ruling out all electrical causes should the IAT sensor itself be replaced.
How the air measurement system works and the role of sensors
IAT sensor: location and relation to P0113 error
The IAT sensor is an NTC thermistor (Negative Temperature Coefficient) that changes its resistance depending on intake air temperature.
“The IAT NTC thermistor made of manganese/nickel/cobalt oxides has a resistance of 2–10 kΩ at 68°F (20°C), dropping to 200–500 Ω at 212°F (100°C) due to increased free electrons and conductivity.”
The higher the temperature, the lower the resistance. The PCM/ECM supplies a 5 V reference voltage to the sensor through a pull-up resistor and reads the voltage on the signal line, which depends on the thermistor resistance.
Typical IAT sensor locations:
- In the intake manifold (on engines with a MAP sensor or older systems).
- In the duct before the throttle body or inside the air filter housing (separate sensor).
- Integrated into the MAF sensor housing (modern vehicles, e.g., VAG, Ford, Mazda).
“IAT locations: hose after filter (Honda Civic 2022), intake manifold (Ford F-150 2023), in MAF (Toyota Camry 2021), throttle body (BMW X5 2024).” – Source: DXMht.com (2023).
When the IAT circuit opens or contact is lost, resistance becomes infinite. The pull-up resistor in the PCM/ECM pulls the signal line to 5 V, and the control module interprets this as an air temperature around -40°F (-40°C)—the physical minimum of the measurement range.
This situation triggers code P0113.
“When you see IAT -40°F (-40°C) on the scanner, it’s not the real temperature. It means the PCM/ECM no longer receives a changing signal from the sensor—it only sees the supply voltage. Essentially, the module indicates a missing sensor signal.” – Daniel Brooks, DecodeAuto
Understanding the IAT location is important for diagnosis: if the sensor is integrated into the MAF, checking and replacement become more complex and costly.
How IAT differs from MAF and MAP sensors
Although all three sensors relate to measuring intake air parameters, their functions and operating principles differ. Confusing them often leads to misdiagnosis.
| Sensor | Type | What it measures | Location | Effect on operation |
|---|---|---|---|---|
| IAT | NTC thermistor | Air temperature | Air duct/filter housing/integrated in MAF | Adjusts fuel mixture and ignition timing based on temperature |
| MAF | Hot-wire/hot-film sensor | Mass air flow | Intake before throttle body | Base calculation of load and fuel quantity |
| MAP | Pressure sensor | Absolute intake manifold pressure | Intake manifold | Load estimation (speed-density), mixture/timing correction |
IAT provides air temperature, which affects density. Cold air is denser, containing more oxygen per volume, so the PCM/ECM must supply more fuel.
MAF directly measures the mass of air passing through the sensor per unit time (g/s). This direct measurement is used by the PCM/ECM for base fuel calculations.
MAP measures absolute pressure in the intake manifold. In systems without MAF (speed-density), the PCM/ECM calculates air mass indirectly using pressure, temperature (IAT), and engine speed.
The key difference: MAF and MAP provide the PCM/ECM with air quantity information, while IAT provides air density information. When IAT is faulty, the PCM/ECM loses the ability to accurately assess air density and makes errors in calculations, even if MAF/MAP work correctly.
PCM/ECM role in detecting and logging P0113
The PCM/ECM is the “brain” of the engine management system. It receives signals from all sensors, processes them in real time, and makes decisions about fuel delivery, ignition timing, throttle opening, and other parameters.
How the PCM/ECM handles the IAT signal:
- The PCM/ECM supplies the IAT sensor with a 5 V reference voltage through a pull-up resistor (usually 2–10 kΩ).
- The NTC thermistor in the sensor forms a voltage divider between reference and ground.
- The PCM/ECM reads the voltage on the signal line via an analog-to-digital converter (ADC).
- Using a calibration lookup table, the PCM/ECM converts voltage to air temperature.
- The resulting temperature is used to adjust the base fuel map, ignition timing, and air density calculation (if MAF or speed-density is used).
Conditions for setting P0113:
“According to SAE J1979, the ECM sets P0113 when the IAT sensor output signal exceeds the expected range, with voltage >4.91 V for ≥0.5 seconds, indicating an open circuit.” – Source: YouMechanic (OBD-II generic code description).
When the IAT input voltage exceeds the threshold (usually 4.91 V) for the specified time (typically 0.5 seconds), the PCM/ECM sets a pending code. If the condition repeats on the next drive cycle, the code becomes confirmed, and the Check Engine light illuminates.
At the moment of logging, the PCM/ECM saves a freeze-frame—a snapshot of all engine parameters (RPM, load, speed, ECT temperature, fuel trims).
“The PCM/ECM does not make instant decisions. It filters the signal, checks condition stability, and compares IAT with other sensors—e.g., ECT (coolant temperature). If IAT shows -40°F (-40°C) and ECT 185°F (85°C), the PCM/ECM knows something is wrong. But if no other contradictions exist, it sets P0113 and enters failsafe mode, using substitute air temperature values.” – Daniel Brooks, DecodeAuto
It is important to understand that the PCM/ECM does not fail due to a faulty IAT sensor. It only logs the problem and adjusts control strategy. PCM/ECM faults (input channel defect, corrosion) are very rare causes of P0113 and are checked last.
This information is general and does not replace professional consultation.
Step-by-step P0113 diagnosis: how to find the cause yourself
Diagnosing P0113 follows the “simple to complex” logic. Start with visual inspection and basic checks, then proceed to measurements, and only finally replace components.
Step 1: Scan tool diagnosis.
Connect an OBD-II scanner and read codes. Save the freeze-frame (conditions when the code was set). Enter Live Data mode and monitor IAT readings. If the sensor shows -40°F (-40°C) (or close) at ambient temperature under the hood, this confirms an open circuit or missing signal.
Compare IAT with ECT (coolant temperature): on a cold engine, they should be close. If IAT is -40°F (-40°C) and ECT is 59°F (15°C), the problem is in the IAT circuit.
Step 2: Visual inspection.
Open the hood and locate the IAT sensor. Check the connector for moisture, oil deposits, or contact oxidation. Inspect the wiring harness for breaks and abrasion (especially where wires contact hot or moving engine parts).
Ensure the air filter and ducts are properly installed—incorrect assembly after service often leads to loose IAT contact.
Step 3: Connector check.
Disconnect the IAT sensor connector. Inspect pins for deformation, corrosion, or looseness. Clean contacts with electrical contact cleaner (not WD-40) and dry. If connector pins are loose, gently retension them with a thin tool (special terminal tool or small screwdriver).
After cleaning and adjustment, reassemble the connector and ensure the latch secures it firmly.
Step 4: Voltage check with multimeter.
Turn on ignition (do not start engine). Disconnect the IAT connector. On the harness side (not sensor), there should be two wires: reference and ground. Measure voltage between them with a multimeter. You should see about 5 V.
If voltage is missing or below 4.5 V, check the sensor circuit fuse and wiring integrity from the PCM/ECM. Then measure resistance between the connector ground pin and vehicle chassis ground: it should be less than 1 Ω. High resistance indicates poor ground.
Step 5: Sensor resistance measurement with multimeter.
Disconnect the IAT sensor and measure resistance between its two terminals. Compare the value with the resistance table for your model (see section below). Approximately at 68°F (20°C), the sensor should show 2–3 kΩ.
If the multimeter shows infinite resistance (internal open circuit), the sensor is faulty. If resistance is zero or very low (a few ohms), the sensor is shorted—rare but possible.
Step 6: Wiring check.
Continuity test the wires from the IAT connector to the PCM/ECM pins. You will need the vehicle’s wiring diagram to identify the PCM/ECM pins responsible for IAT. Measure resistance between the IAT signal pin on the connector and the corresponding PCM/ECM pin (with PCM/ECM disconnected). Resistance should be less than 1 Ω.
If resistance is high or infinite, there is an open in the harness. Check ground similarly.
Perform a “wiggle test”: connect the scanner in Live Data mode, turn on ignition, and slowly move the IAT harness in different directions while watching IAT readings on the screen. If temperature jumps or disappears, there is an intermittent open in the harness.
“Wiggle test: connect scanner/multimeter, move IAT harness/connector, monitor Live Data/voltage for spikes.” – Source: OBDeleven.com (2024).
Step 7: Test resistor.
If unsure about sensor condition, connect a resistor of known value (e.g., 2.2–2.7 kΩ) instead of the sensor. Turn on ignition and check Live Data: IAT should show a temperature corresponding to that resistance (about 68–77°F (20–25°C)).
If the reading is correct, the sensor is faulty. If the scanner still shows -40°F (-40°C), the problem is in wiring or PCM/ECM.
Step 8: Features with IAT integrated in MAF.
If IAT is built into the MAF sensor housing, diagnosis is more complex. Ensure the MAF connector is securely fastened and the MAF sealing ring does not leak air. Check MAF power and ground.
If all electrical parameters are normal but the code persists, the MAF itself may be faulty and require replacement (a more expensive procedure).
“P0113 diagnosis is straightforward: inspect wiring and connector; check scanner readings (at 68°F (20°C) IAT should show about 68°F (20°C), not -40°F (-40°C)); replace MAF sensor (since IAT is part of MAF, this solves the problem in many cases).” – Source: Mazda DTC P0113 Guide (2025).
Step 9: After fixing causes.
Clear trouble codes with the scanner. Perform a test drive: start the car, let it idle for 5 minutes, then drive 6–9 miles (10–15 km) in various conditions (city, highway, acceleration). Return and read codes again.
Check fuel trims (STFT and LTFT): they should typically be close to zero. If P0113 does not return and trims are stable, the problem is resolved.
This information is general and does not replace professional consultation.
How to fix P0113: repair methods
After diagnosis and identifying the cause, proceed to repair. Methods depend on what caused the code.
Cleaning contacts and restoring pin tension.
If the problem is oxidation or loose connector contacts, clean them with a special contact cleaner and contact brush. Let dry, then apply a thin layer of dielectric grease (not lithium grease) to protect against moisture.
If connector pins are loose, carefully retension them with a tool. Reassemble the connector and ensure the latch secures the connection firmly.
Wiring repair.
If an open or damage is found in the harness, replace the damaged section. Cut out the damaged wire with a margin (about 2 in. on each side). Use wire of the same gauge.
Join wires by soldering (not twisting) and insulate the joint with adhesive-lined heat-shrink tubing. Route the repaired section so it is not stretched or touching hot surfaces (exhaust manifold, turbo). Secure the harness with clips or tie straps.
After repair, always check continuity with a multimeter to ensure no opens or shorts.
IAT sensor replacement.
If the sensor is faulty (infinite resistance, internal open circuit), replace it. Select the sensor by vehicle VIN or original part number. Avoid cheap aftermarket sensors from unknown manufacturers—they often have unstable resistance characteristics, causing recurring codes or incorrect readings.
When installing, ensure the sealing ring (if present) is in place and in good condition. If IAT is integrated into the MAF, the entire MAF sensor must be replaced—this is more expensive but sometimes unavoidable.
“Replacing the MAF sensor is the simplest and most reliable solution. It solves the problem in 99% of cases. Attempts to clean the MAF with this error are usually useless.” – Source: Mazda DTC P0113 Guide (2025).
Clearing the code and verification.
After repair, connect the scanner and clear codes. Turn on ignition and verify Live Data shows correct IAT temperature (close to ambient under the hood). Start the engine and perform a test drive including cold start, warm-up, and load driving.
After 6–9 miles (10–15 km), read codes again. Check fuel trims: STFT and LTFT should be near zero. If all is normal, the repair is successful.
PCM/ECM repair/rework (rare).
If all external causes are excluded and the code persists, the problem may be in the PCM/ECM: corrosion on the board, burned pull-up resistor, or ADC input defect. PCM/ECM repair requires a specialized repair facility experienced in SMD soldering and board diagnostics.
Do not attempt to repair the PCM/ECM yourself without proper skills and equipment. Sometimes it is easier to replace the PCM/ECM with a used or new unit, but only after confirming the problem is indeed in the module and not the wiring.
Preventive measures.
After fixing the fault, take steps to prevent recurrence. Replace the air filter if dirty. Check intake system sealing: air leaks after the MAF sensor can affect IAT readings.
Do not pull on wires during maintenance—this is a common cause of opens. If wiring runs near sharp edges or hot surfaces, protect it with convoluted tubing or tape. Periodically (once a year or at filter replacement) inspect sensor connectors and clean off dust and oxidation.
This information is general and does not replace professional consultation.
Is it safe to drive with P0113?
Short answer: it may be possible for a short time and with caution, but repair should not be delayed.
The engine will run with a rich mixture, increasing fuel consumption and risking damage to several components. The catalytic converter may overheat and fail due to unburned fuel burning in the exhaust system. Spark plugs become fouled with black deposits and wear out faster.
Oxygen sensors also suffer from excess hydrocarbons, which can lead to premature failure.
If obvious symptoms appear—loss of power, black smoke, unstable idle—limit driving and seek diagnostics. In some cases, the PCM/ECM enters failsafe mode, ignoring IAT readings and using substitute air temperature values (often around 68–77°F (20–25°C)).
In this mode, the engine runs with limited performance and without proper mixture correction.
Prolonged driving with P0113 not only increases fuel consumption but can also accelerate engine wear. Rich mixture dilutes oil (fuel washes away the oil film on cylinders), speeding up piston ring and cylinder wall wear.
If symptoms are minimal (only Check Engine light) and you plan to visit a repair shop the same day, the risk is low. But if the car behaves oddly, starts poorly, or smokes, stop driving and call for a tow.
This information is general and does not replace professional consultation.
Expected values and useful tables for checks
IAT resistance vs temperature table (typical NTC)
For diagnosing the IAT sensor, it is important to know the expected resistance at various temperatures. Below are approximate values for typical automotive NTC thermistors. Refer to your vehicle’s service manual for exact data.
| Temperature, °F (°C) | Resistance, kΩ (nominal) | Tolerance ±1% |
|---|---|---|
| -4 (-20) | 71.0 | 0.70 |
| 32 (0) | 32.6 (interpolated) | 0.33 |
| 77 (25) | 4.7 | 0.05 |
| 122 (50) | 0.8116 | 0.008 |
| 176 (80) | 0.2447 | 0.002 |
“NTC 4.7 kΩ at 77°F (25°C), B=3950K (25/50°C) ±1%—typical for automotive IAT sensors, used in glass NTCs for Semitec NT-4, ATC Semitec (2019).” – Source: Thermistor-sensor.com (May 7, 2024).
Note: Manufacturers use thermistors with different characteristics. Always compare measurements with data for your specific model.
Typical Live Data readings and cross-checks
When diagnosing P0113, it is useful to compare IAT readings with other parameters.
IAT ≈ ambient temperature + 9–27°F (5–15°C) at warm idle.
When the engine is warm and idling, intake air temperature is slightly higher than ambient due to engine heat. If IAT shows -40°F (-40°C), this is a clear sign of an open circuit. If IAT shows 266°F (130°C) on a cold engine, a short to ground (code P0112) is possible.
Compare IAT with ECT during cold start.
At cold start, air temperature (IAT) and coolant temperature (ECT) should be close. If IAT shows -40°F (-40°C) and ECT 59°F (15°C), the problem is in the IAT circuit.
“At cold start ECT=4°C, faulty IAT=101°F (~38°C), mismatch causes enrichment.” – Source: CarParts.com, Richard McCuistian, ASE (2023).
These cross-checks help exclude false triggers and confirm the problem is with the IAT sensor, not another system component.
Common mistakes in diagnosis and repair
Immediate IAT replacement without checking wiring and 5 V reference/ground.
The most common mistake is buying a new sensor and installing it without prior diagnosis. The code remains because the cause was a wiring break or poor connector contact, not the sensor itself.
Blind MAF replacement for P0113 (if IAT is integrated in MAF).
Replacing an expensive MAF without wiring diagnosis is a waste of money.
“Don’t replace the MAF ‘just in case’ for P0113 (if IAT is integrated)—first try a test resistor and jumpers.” – Practical advice from a diagnostician.
Ignoring related codes (P0112, P0101–P0103, P0117–P0118).
If codes P0112 (low IAT signal), P0101–P0103 (MAF), P0117–P0118 (ECT) appear alongside P0113, this may indicate a common issue: poor ground, harness damage, or PCM/ECM fault. Don’t fix codes one by one—look for the root cause.
Loose or dirty connector pins.
After cleaning, connectors are often latched hastily without ensuring pins are firmly seated. Engine vibration causes contact loss, and the code returns within days.
Continuity check without load test (no voltage drop check).
Multimeter continuity shows circuit presence but does not reveal high resistance or poor contact causing voltage drop under load. Use a wiggle test and voltage measurement under running conditions.
Skipping the wiggle test on the harness.
Intermittent opens (contact lost only in certain harness positions) are hard to detect with static measurements. Without a wiggle test, the problem may be missed and the code will return during driving.
Clearing codes without test drive/confirmation drive cycle.
After repair, always perform a test drive and verify the code does not return. Simply clearing the code without verification guarantees the problem will recur if not fully fixed.
Prevention and operational tips
Regular inspection of connectors/harness during filter replacement.
At every air filter change (usually once a year or every 9,000 miles (15,000 km)), inspect the IAT connector and wiring harness. Ensure contacts are clean, free of oxidation, and the connector latch secures firmly.
Protect harness with convoluted tubing and clips; avoid tension.
If wiring runs near moving parts (alternator pulley, timing belt) or hot surfaces (exhaust manifold), protect it with convoluted tubing. Secure the harness with tie straps so it is not stretched when opening the hood or during engine vibration.
Use quality filters and proper air duct assembly.
Cheap filters may allow dust that contaminates the MAF sensor (if IAT is integrated). After filter replacement, ensure all ducts and clamps are tight and the IAT sensor is securely seated.
Seal solder joints and prevent moisture ingress.
If wiring was repaired, use adhesive-lined heat-shrink tubing. Do not leave solder joints unprotected—moisture will cause corrosion and repeated opens.
Preventive contact cleaning, especially after engine washing.
High-pressure engine washing can force water into sensor connectors. After washing, check the IAT connector, blow it out with compressed air if needed, and apply dielectric grease.
Features and tips by brand
VAG (Volkswagen, Audi, Škoda, SEAT).
On VAG vehicles, the IAT sensor is often integrated into the MAF housing. Check the connector and MAF sealing ring condition—damage can cause air leaks and false readings. Use original or quality aftermarket parts (Bosch, Siemens) when replacing the MAF; cheap MAFs from AliExpress often give unstable IAT readings.
Ford/Mazda.
A common weak point is harness opens at tension points near the air duct. IAT wires run in the same harness as the MAF, and during filter or hose replacement, they can be pinched or bent. Always check Live Data after service.
“Located on the intake hose after the air filter. Carefully inspect its connector and wires for breaks, abrasion, or corrosion. Disconnect and reconnect the connector several times—sometimes the problem is poor contact.” – Source: Mazda DTC P0113 Guide (2025).
Toyota.
Pay attention to ground and pin corrosion with frequent engine washing. Toyota often uses connectors with marginal sealing, allowing moisture ingress. After engine washing, blow out connectors with compressed air.
VAZ/Renault/Hyundai.
Budget IAT sensor replacements sometimes have unstable resistance characteristics (parameter drift). If you replaced the sensor but Live Data shows unusual values (e.g., IAT fluctuates from 50 to 86°F (10 to 30°C) at idle), try another unit or buy an OE part. Compare readings with the resistance table.
| Brand | IAT location | Weak points | Quick checks |
|---|---|---|---|
| VAG | Integrated in MAF | MAF seal, air leaks | Check seal and connector |
| Ford/Mazda | Duct before throttle body | Opens at tension points | Wiggle test, harness inspection |
| Toyota | Intake manifold/MAF | Pin corrosion, marginal sealing | Connector blowout, ground check |
| VAZ/Renault/Hyundai | Duct/intake | Parameter drift of replacements | Compare with resistance table |
Related codes
- P0112 – low signal level in IAT circuit (short to ground).
- P0095–P0099 – IAT2 sensor fault codes (post-intercooler air temperature sensor on turbo engines).
- P0101–P0103 – MAF sensor fault codes (mass air flow).
- P0117–P0118 – ECT sensor fault codes (engine coolant temperature).
Disclaimer: The information in this article is for educational purposes only and does not replace professional diagnosis and repair. If you experience vehicle problems, consult a qualified technician.
Frequently asked questions
Where is the IAT sensor located on popular car models?
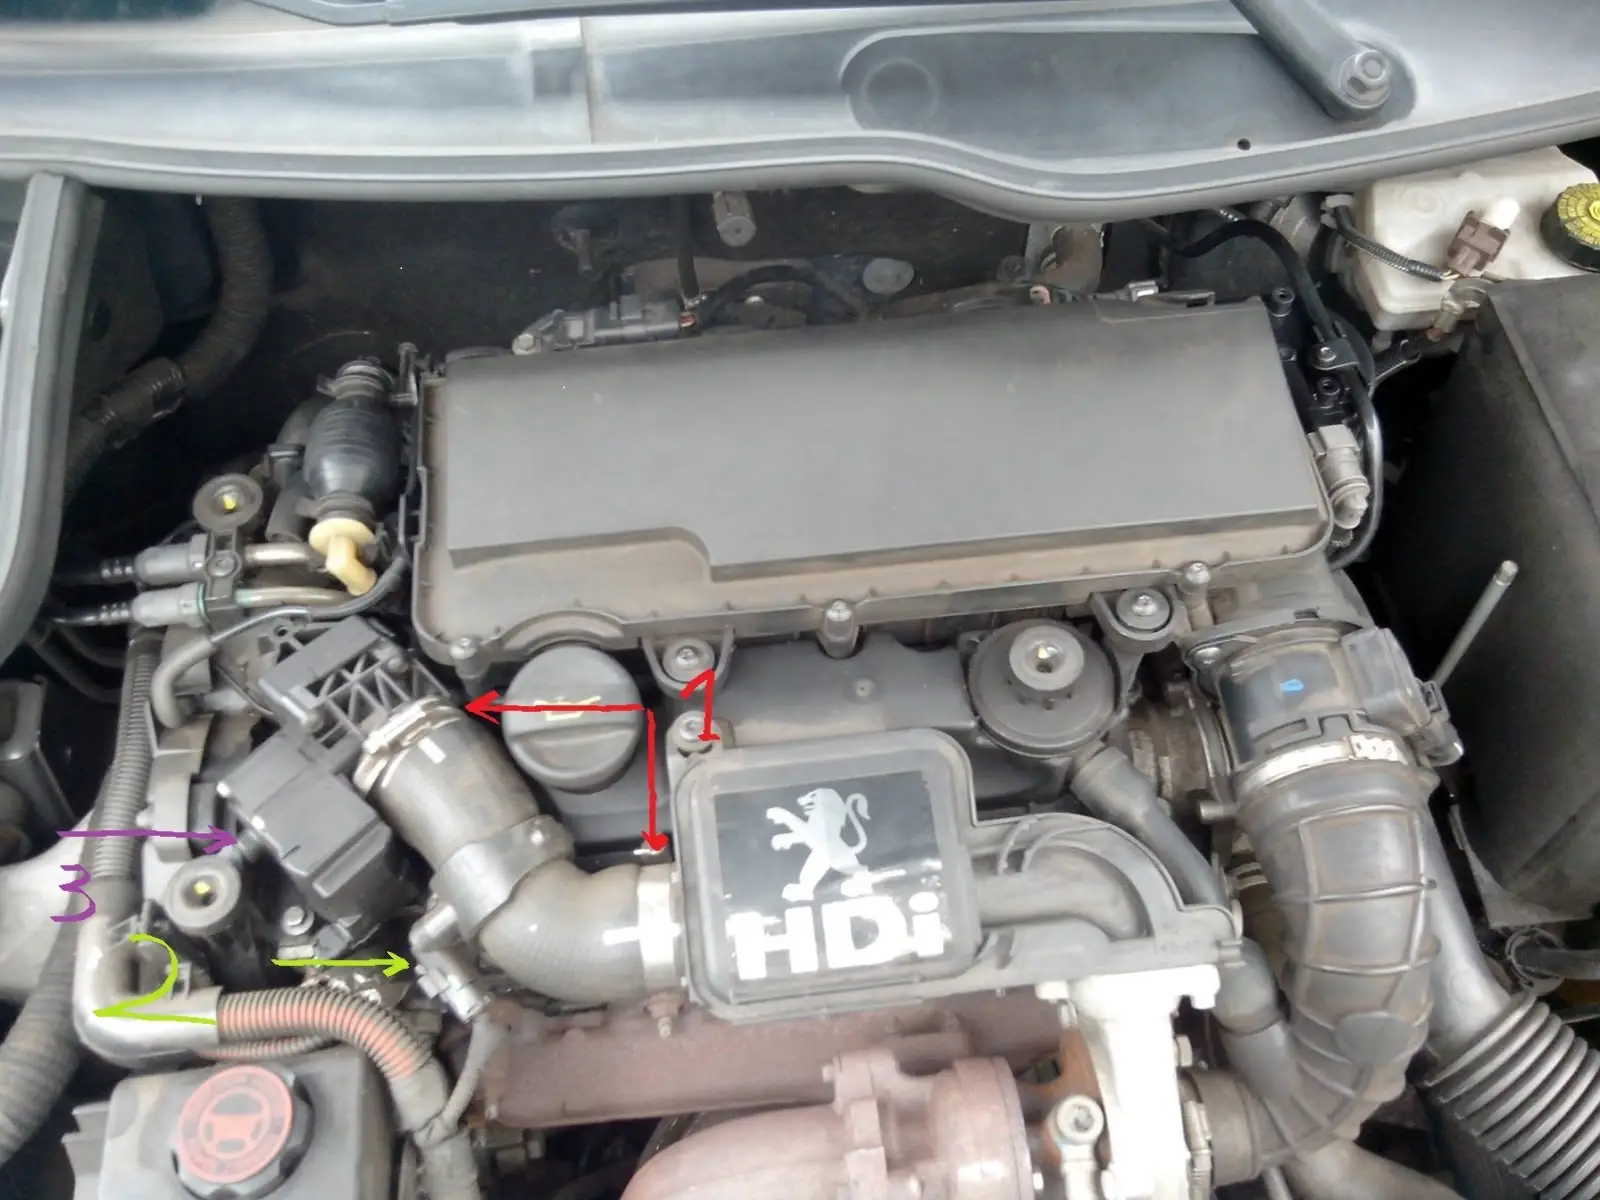
The location depends on the model. Usually, the IAT is installed in the intake duct between the air filter and the throttle body, or integrated into the MAF sensor housing. On some cars (for example, older VAZ models, some Nissan models), the sensor may be threaded into the intake manifold. Check the exact location in the owner’s manual or on the intake system diagram for your model.
What happens if P0113 is ignored?
There is a risk of spark plug fouling, overheating and failure of the catalytic converter, and accelerated wear of oxygen sensors. A rich mixture dilutes the engine oil (fuel washes away the oil film from the cylinders), which accelerates wear of piston rings and cylinder walls. The engine may run rough, with power loss and hard starting.